
Next project....a Hot Wire Foam Cutting device..........oh, I needed one of these!!!
I scavaged through the garage bins and found some parts that looked suitable. I had googled hot wire cutters and all they are basically is a transformer (sometimes a battery charger) which is feeding a rheostat (a cheap wall dimmer from Home Depot), some guitar strings, some misc. fittings and a board or two. While I was at Home Depot I also got some brass screws and some springs. Since the wire passes thru the cutting board it needs to stand up about 2 inches. To do this I recycled some old mystery knobs from the bin. I drilled a 3/8 hole thru the cutting board and put a nutsert into the bottom. The knob then screws into the nutsert and its adjustable!!
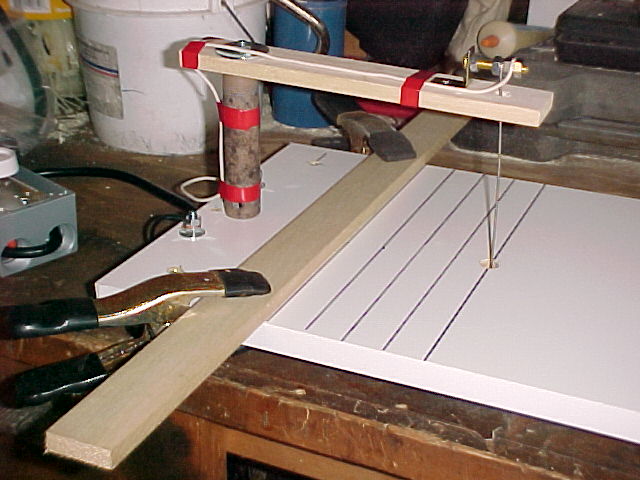
This is version one of the cutter. At first I used a piece of tubing left over from a ceiling fan install, for the upright support...it gave about 5 inches of clearance...I wanted more. Version Two is mounted on a heavy piece of 3/8 allthread and I have about a 10 inch cutting span. I made two power lugs out of bolts in the end of the cutting board. The 110volt AC is fed thru a switched outlet to my HD~Dimmer and this controls the power to my transformer from an old PC battery backup that was scrapped and a 24 volt tap is drawn and fed to the lugs on the cutting board. From there I take a line to the bottom connector and a separate line to the top connector.
This is a good photo of the power lug bolts and how the wiring is run up to the top connector. In version two I added a spring to the connector and the guitar wire which helped keep tension on the wire. In the first attempt I used a thick nichrome wire and just wrapped it it didn't heat well...so I got some guitar strings and used the spring for tension. The brass screws and L bracket are just for looks!!

Here is a closeup of the Version One with just a thick wire...I replaced it with a nice taut spring which fits through the hole in the wood support. The cutting wire is attached to the opposite end of the spring. By adjusting the mount nuts on the 3/8 inch allthread I can keep good tension on the wire.
This is the bottom of the cutter wiring showing another L bracket with a brass screw and the wire is held with the 1/4x20 nuts. To protect the hole going up through the cutting board I added another 3/8 nutsert so the metal protects the wood.
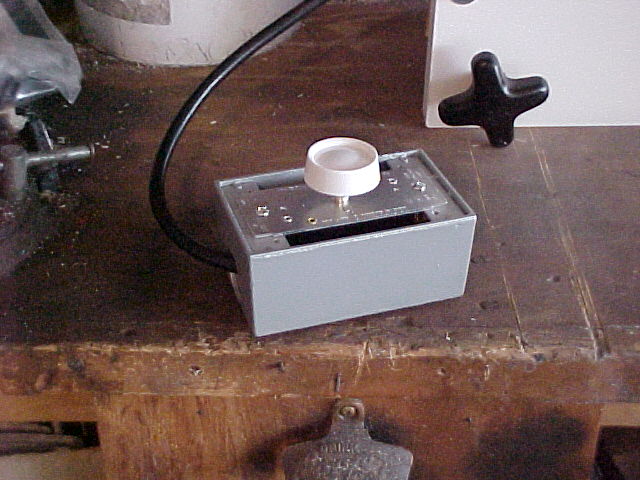
This shows the dimmer mounted into a cheap electrical box. Also in the background you can see one of the adjustable stand off made from the old knobs.
I made some guide marks on the cutting board with a magic marker. I started out with just a few 1 inch marks but now its getting alot more added for thinner cuts. I clamp fence board to help guide the foam as I cut. All in all I probably made this more complex then it needs to be but I have hacked my way through sheets of pink foam and its holding up well so far.

